TL;DR: Never edit a live WordPress site directly. At FireVM, cloning is one click. Creating a restore point is one click. Rolling back if something goes wrong is one click too. Doing any of those staging workflows manually by hand can cost you hours, and real money, every single time.
Already using one-click WordPress staging? Then this article isn’t for you, you’re already doing it the right way. Keep scrolling past the next section and jump straight to the step-by-step walkthrough below. If you’re still setting up staging by hand, the next section is worth a few minutes, it adds up to more than you’d think.
Why staging exists in the first place
Every webmaster eventually makes this mistake once: updating a plugin, switching a theme, or testing new code directly on the live site, and watching something break in front of real visitors. Staging exists to remove that risk entirely.
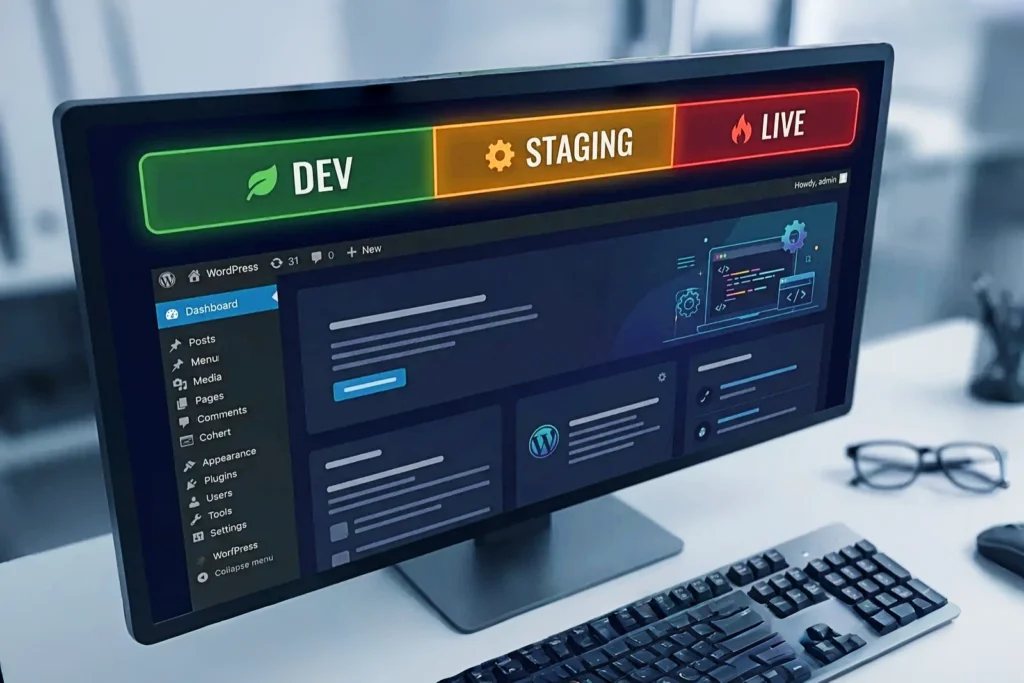
A staging site is a private copy of your live WordPress site, same files, same database, same theme and plugins, sitting on its own separate address where only you can see it. You make your changes there first. If something breaks, nobody notices but you. Once everything works the way you want, you push just the changes you tested, not a guess, not a full overwrite, to the live site.
What it takes to do this manually
1. Copying everything from live into staging by hand
Without a built-in staging feature, getting a working copy of your site set up yourself means repeating a fair amount of work every single time:
- Set up a new subdomain or subfolder for the staging area
- Manually copy every file over to the new staging folder
- Export the full live database and import it into a new location
- Go through the database by hand and rewrite every reference to the old domain, so links and images actually resolve on the new address
Miss even one of those steps and the staging site either doesn’t load correctly or quietly points back at the live site for some of its assets.
2. The live site has to stay frozen while you work on staging
This is the part that catches most webmasters off guard. Once you’ve cloned the site and started working in staging, the live site needs to stay untouched until you’re done. Any content added there while you work means reconciling two sites that changed independently, by hand, with real risk of losing something. There’s no clean way to merge two copies that have each moved forward on their own.
Another change creeps in even if you’re not touching anything. Visitor comments on live stay on live, staging never saw them, and a full database push overwrites that table too. A selective sync that excludes comments avoids this.
And comments aren’t the only thing visitors can generate while you’re heads-down in staging. A few other things worth keeping in mind, assuming your own team isn’t touching production during this window, only outside visitors are:
- New comments left by site visitors on existing posts
- New form submissions from visitors, if the site runs any contact form or similar plugin
- New user registrations from visitors, if the site allows public sign-ups
- Uploaded media or files from visitors, if the site accepts any kind of guest submission or file upload
None of this is a problem if you sync selectively. It becomes a problem the moment you do a full overwrite without thinking about what’s accumulated on the live site since you cloned it. And in practice, keeping a running mental tally of every change on both sides, by hand, for as long as the staging work takes, isn’t something most webmasters can realistically pull off.
3. Moving changes back to the live site from staging
Once testing is done, pushing changes back is its own manual job too:
- Figure out which files actually changed, such as images, theme files, or custom code
- Separately track any plugins installed, updated, or removed during testing, since their files live outside the normal file diff and need to be carried over on their own
- Figure out which database tables actually changed, including any new tables a plugin might have added
- Export just those files and tables that have changed
- Import them back into the live site without overwriting anything that changed there in the meantime
One wrong export or a forgotten step here, and you’ve just done the exact thing staging was supposed to prevent, broken something on the live site.
Add it up and a single manual staging cycle, clone, test, sync back, realistically runs 2 to 3 hours for someone who knows what they’re doing. Hit a snag, a serialized-data issue from a naive find-and-replace, a missed table, a broken plugin reference, and that easily doubles, or even quadruples. At any reasonable hourly rate, that’s real money spent every single time you need to test a change safely, for a task that should take minutes, not hours.
Creating a staging site the one-click way
Step 1: Clone your live site
Log in to your FireVM control panel, open WordPress from the left-hand menu, and find the card for the site you want to stage. Click Clone on that card. This copies your entire live site, every file and the full database, into a new, separate location.
By default, the clone lands on a subdomain with a “staging” prefix, something like:
staging.yourdomain.comIf that subdomain doesn’t exist yet, the clone process creates it automatically. Depending on your setup, you may also have the option to place the staging copy in a subfolder of your main domain instead:
yourdomain.com/staging/Either way, it’s a separate, independent location from your live site. Once the clone finishes, it shows up as its own card in the same WordPress list, ready to open and work on.
Step 2: Confirm the staging site is isolated
Once the clone finishes, visit the staging URL and confirm it loads independently of your live site. On the staging site’s card in the WordPress list, open its settings and check that search engine indexing is blocked, this is usually on by default for a cloned staging site, but worth confirming. If you want extra privacy, the same settings panel lets you turn on password protection for the staging site. Worth checking this is in place before you start working, especially if the staging site will sit online for a while.
Why the URLs get rewritten
Cloning isn’t just a file copy. WordPress stores its site URL inside the database itself, in dozens of places, so a straight copy would have your staging site still pointing back at the live domain for images, links, and asset paths. The clone process rewrites these references automatically, so the staging site is a fully working, self-contained copy from the moment it’s created, not a broken mirror of the original.
Plugins and themes come fully isolated too
Because cloning copies every file and creates a separate database for the staging site, the staging copy ends up with its own independent set of plugins and themes, same as what was on the live site at clone time. From that point on, installing, updating, or deactivating a plugin on staging has no effect on the live site’s files or database, since the two are now separate copies. This is what makes staging safe for testing a risky plugin update in the first place.
Working safely in staging
This is where the actual testing happens, a plugin update, a theme change, new code, a redesign, whatever the task is.
A few things worth doing before you start:
- Note what you’re about to change, so you know exactly what needs to go live later
- If you’re testing something risky, like a major plugin update, do it here first, never directly on the live site
- Keep staging and live in sync periodically if the live site keeps changing while you’re working, otherwise your staging copy drifts further from reality the longer you wait
Once you’re happy with how things look and behave on staging, you’re ready to move changes to the live site.
Pushing changes live
Step 1: Decide what actually needs to move
On the staging site’s card, click Sync, which opens the sync options for pushing changes to the live site. This is the part most webmasters get wrong on their first try, you rarely want to push everything. Three common scenarios:
| Scenario | What to sync |
|---|---|
| New theme, updated code, new images | Files only, leave the live database untouched |
| New posts, settings, content edits made in staging | Database or specific tables only, leave files untouched |
| Changes touched both code and content | Full sync, files and database together |
The sync screen lets you tick exactly which of these you want, files, database, specific tables, or both. Pushing more than you need to risks overwriting live content that changed after you cloned. Pushing exactly what you need keeps that risk contained.
Step 2: Create a restore point first
Before confirming the sync, look for the Restore Point option on the same screen, it sits right alongside the sync settings so you can create one in the same flow. It’s built in, no manual backup needed. It captures the live site’s state right before the sync starts.
By default, it only captures what the sync will touch, so it stays quick. You can also choose a full capture, files and database together, for a stronger safety net at the cost of extra time and space.
If the sync goes wrong, roll back with one click. Just know each site holds only one restore point at a time, a new one replaces the old. It’s specific to this operation, not a replacement for your regular backups.
Step 3: Run the sync
With the scope selected and the restore point created, click Sync to confirm. The sync copies exactly what you selected, nothing more, and the WordPress list updates once it’s done.
If you synced database tables selectively
Double-check the live site afterward. Partial table syncs are powerful but specific. If a feature depends on a table you didn’t include, it’ll look unchanged on the live site even after a successful sync. This isn’t a bug, it’s the sync doing exactly what you told it to do, worth keeping in mind when you’re deciding what to select in Step 1.
Common mistakes to avoid
Letting staging and live drift too far apart. If you leave a staging site untouched for months while the live site keeps getting content updates, your eventual sync becomes much riskier. You’re no longer looking at a small, reviewable set of changes. Re-clone periodically if staging work spans a long timeframe.
Forgetting the restore point. It takes seconds and costs nothing. Skipping it is the single most common regret webmasters report after a sync goes sideways.
Syncing everything out of habit. Full syncs feel safer because they feel complete, but they’re actually the riskiest option if the live site has changed since you cloned it. Selective syncs take thirty more seconds of thought and are almost always the better choice.
What staging is not
Staging is not a backup. A backup is a snapshot you restore from if something goes wrong. Staging is a workspace you build in before anything goes live. You’ll usually want both, backups for disaster recovery, staging for everyday changes, but they solve different problems.
What’s next
Staging isn’t a one-time setup, it’s a workflow you’ll use every time you touch a live WordPress site. Clone before you change anything, test freely, sync only what you mean to, and keep a restore point as your safety net.
WordPress staging comes included on every web hosting plan at FireVM, from Personal all the way up, no separate plugin, no manual database rewriting, no SSH required. Cloning is one click. Creating a restore point is one click. Rolling back if something goes wrong is one click too.
If you’re managing more than one WordPress site, especially across multiple domains or client accounts, the Agency plan adds isolated accounts for each one, so staging workflows stay cleanly separated per client.